I was assigned a project where a shell script had to be run remotely on an Ubunto 20.04 Virtual Machine (VM). The remote script failed on an Azure VM so I fell back on Hyper-V running on Windows 11. The way I traditionally configured an Ubuntu 20.04 VM did not permit SSH access from the host computer. These are the steps required to set up an Ubuntu 20.04 that can be configured to accept SSH connections from the host computer.
Create VM (Basic Ubuntu Install)
Create VM pre-installing Ubuntu from an Image
1) Download the Ubuntu 20.04 LTS from Download Ubuntu Desktop on the host computer. The format of the image download will be ISO.
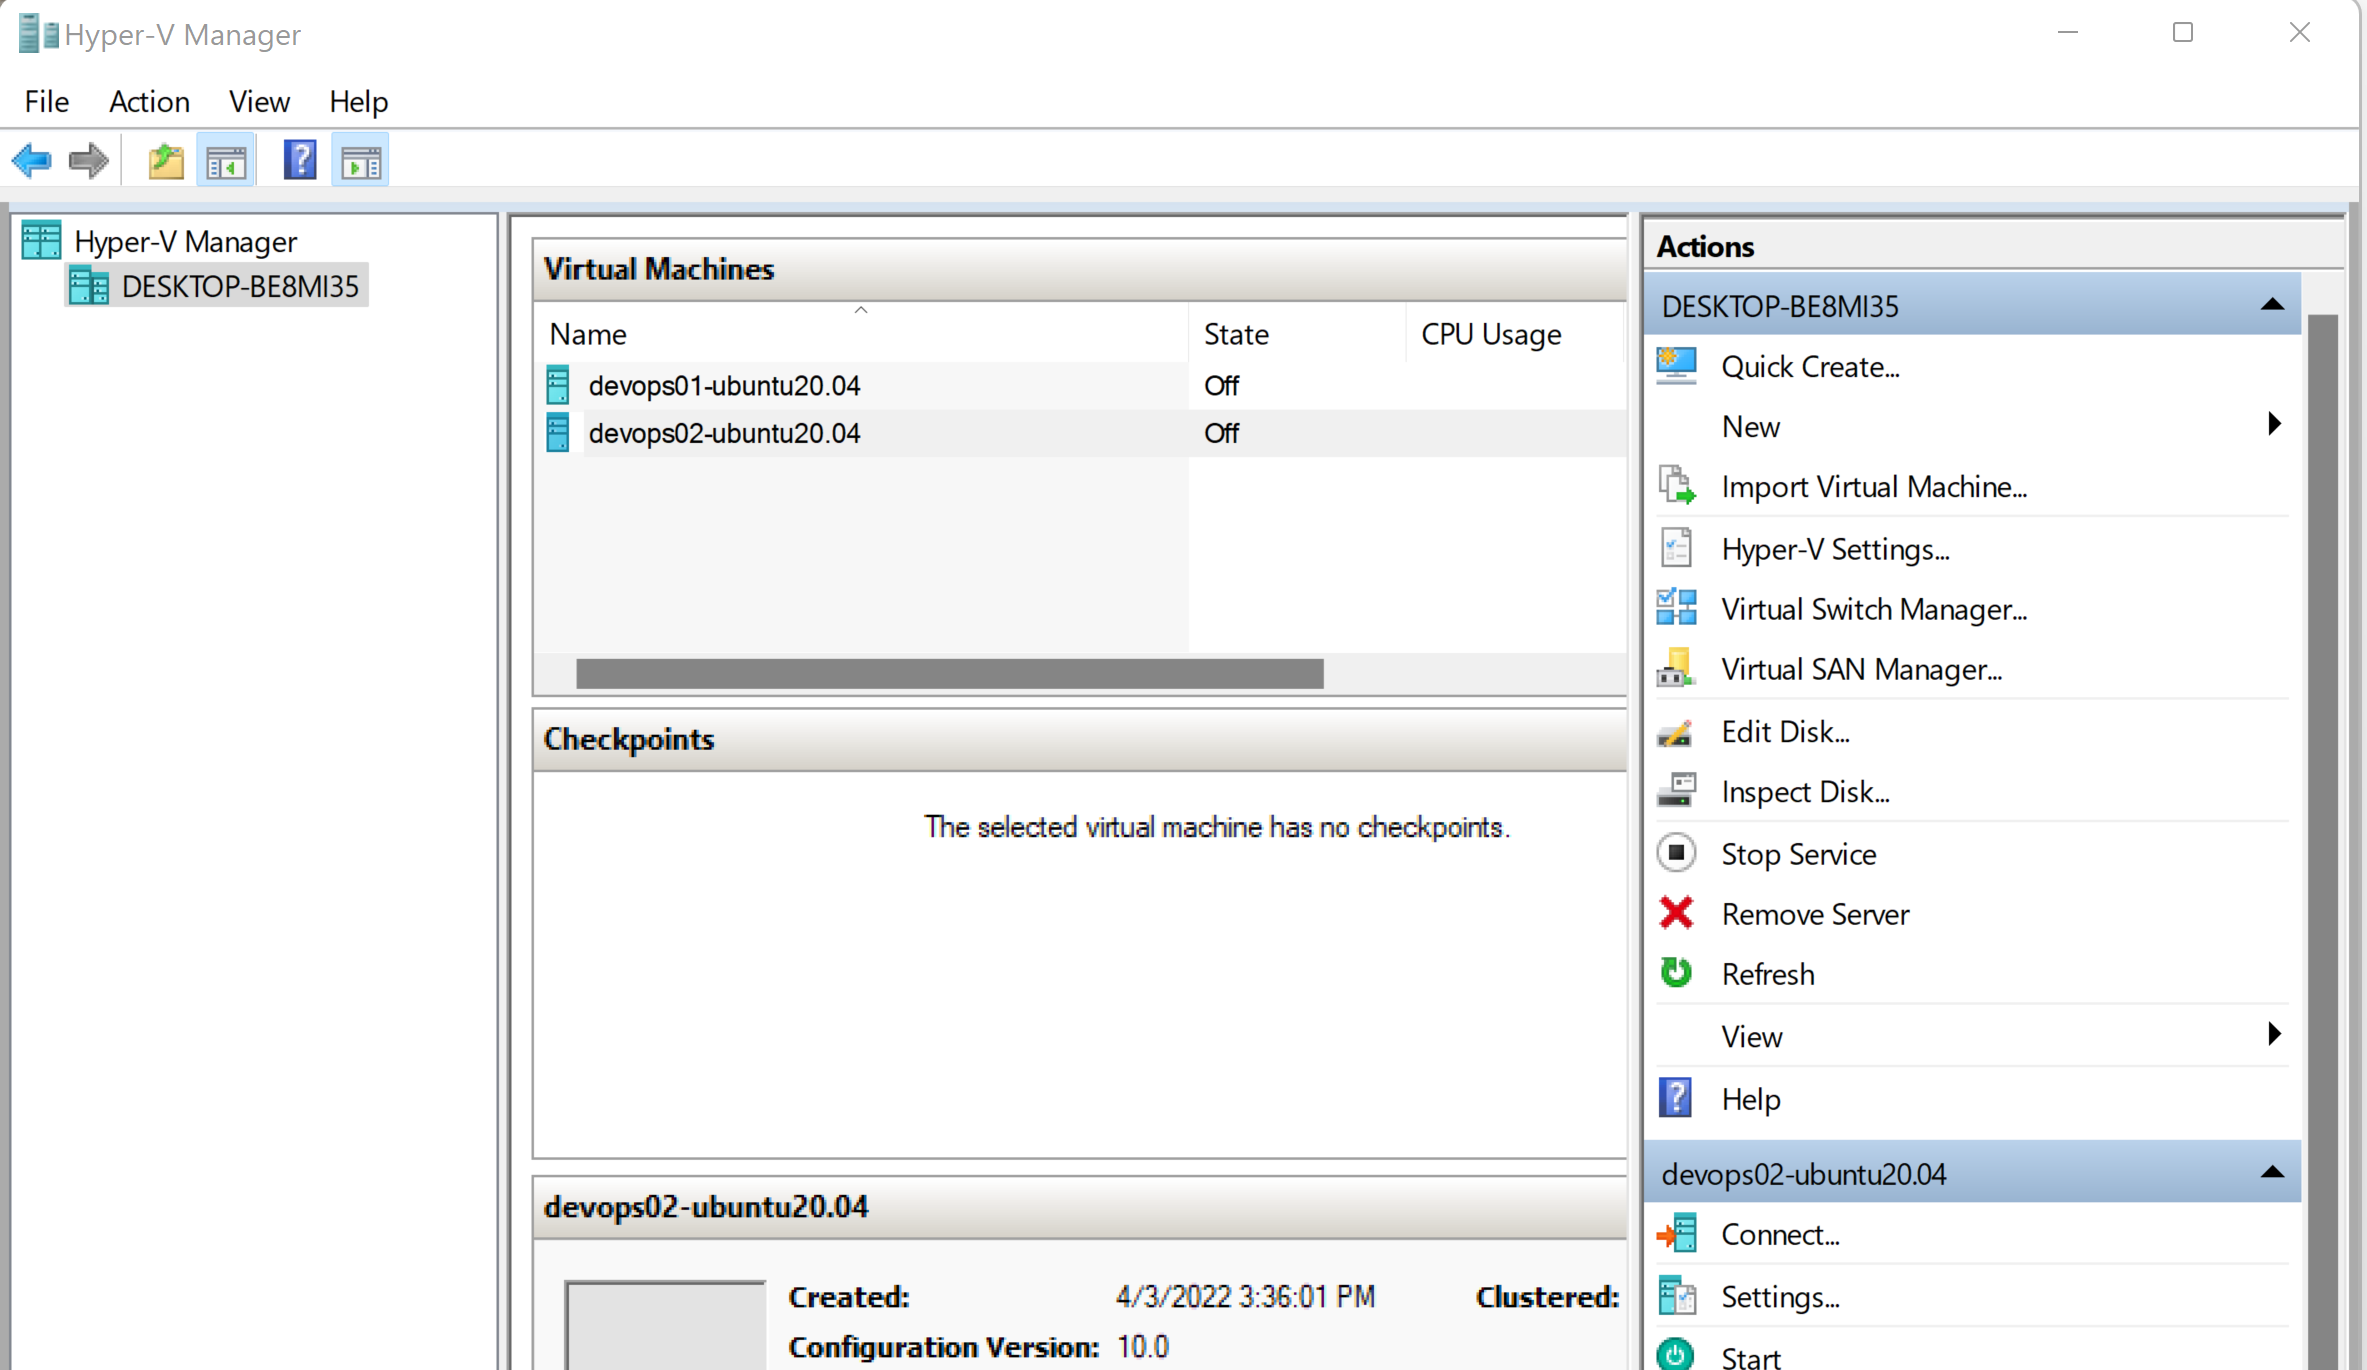
2) Launch Hyper-V Manager on the host computer and make sure that the host computer name is selected in the left panel:

3) Select Action | New| Virtual Machine:

4) Navigate click Next in the New Virtual Machine Wizard under the Specify Name and Location panel is displayed:

5) Enter the name of the virtual machine to be created (the name above is devops02-ubuntu20.04) and click on Next:

6) From the Specify Generation panel select the Generation 2 radio button and click Next:

7) From the Configure Networking panel select Bridge (which allows external access to say the internet and provides access to the internal network, a.k.a. the LAN) which will enable access to the VM from the host computer (the VM will be assigned a local IP address) and click Next:

8) Configure the hard drives and click Next:

9) Specify the location of the Ubuntu install media and click on next:

10) Click Finish on the final setup screen:

Configure Ubuntu to Install from ISO
2) From Settings dialog select Hardware | Security from the pane on the left:

3) Click on OK.
Installing Ubuntu on the VM

2) From the per-VM connection dialog click on Start:

3) Clicking on Start displays the standard Ubuntu install wizard.

Verify Static IP Address

No comments :
Post a Comment