Sunday, January 23, 2022

WSL 2.0: Setting up Git on a Windows Subsystem for Linux (WSL) Distribution

In order to run git on a Windows Subsystem for Linux (WSL) distribution, git must be explicitly installed on the distribution. This installation differs from git installed on the host, Windows machine. This post documents the steps required to install and run git on a WSL distribution.

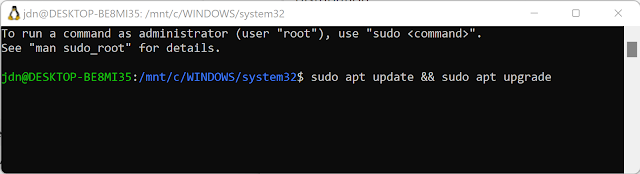
1. Install the git application using sudo apt install git


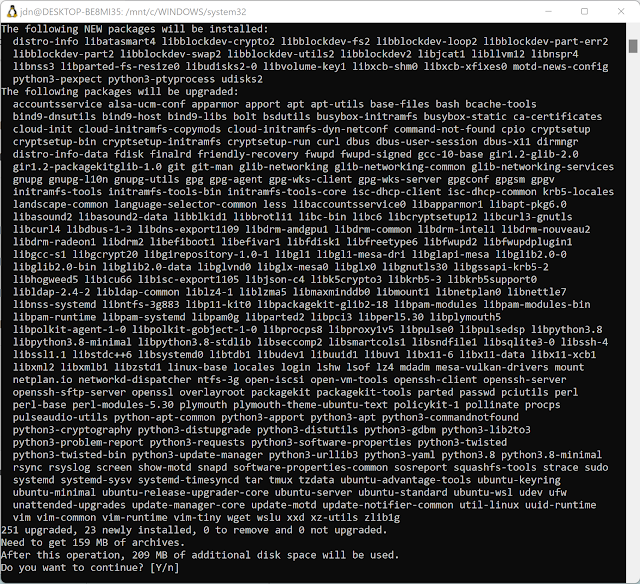
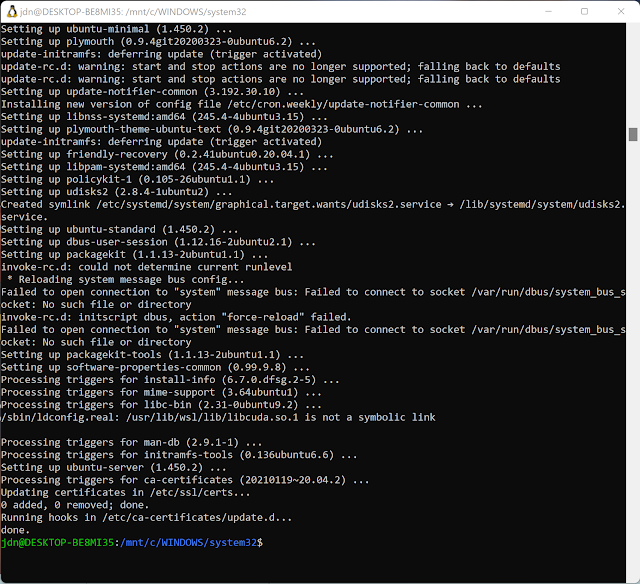
Once the password for the account with administrative privileges has been entered, git will be installed:


2. Us git config to assign user.name and user.email (obviously use your own name and email address):

git config --global user.name "Jan David Narkiewicz"
git config --global user.email "jdnark@softwarepronto.com"

An example of git config invoked to configure name and email is as follows and note that there is no output returned by git config:


3. Install Git Credential Manager (GCM). See section "Appendix A: Git Credential Manager" at the end of this post for more information on GCM. As the name "Git Credential Manager" insinuates, GCM provides authentication support access to git repositories including:
  • for HTTP-enabled Git repositories provides support for single-factor authentication  
  • for ADO (Azure DevOps), Bitbucket, and GitHub support for multi-factor authentication
Git Credential Manager is installed using git config as follows:

git config --global credential.helper "/mnt/c/Program\ Files/Git/mingw64/libexec/git-core/git-credential-manager-core.exe"

An example of git config invoked to configure credential.helper is as follows and note that there is no output returned by git config:


4. Using git with Azure repositories requires the following additional command to be invoked on the terminal for the target WSL distribution:

git config --global credential.https://dev.azure.com.useHttpPath true

Once step 3 is completed or when steps 3 and 4 are completed, GCM will manage the credentials git uses so that they do not need to be entered for each git command. To quote Microsoft' excellent write up on setting up Git for WSL (Get started using Git on Windows Subsystem for Linux):


Example of Git Credential Manager 

An example of a git command is being invoked (git clone) is as follows:


If the cached host credentials do not exist or the credentials are invalid, a credential prompt will be displayed:


Closing the Git Credential Manager dialog will fall back on prompting the user for their credentials in the terminal console of the distribution:


Once valid credentials are entered, they will be stored by Git Credential Manager and future git commands will not prompt for credentials. 

Once the credentials are entered on the WSL distribution, GCM is a bridge to Windows Credential Manager on the Windows host. See Windows Credential Manager where a credential exists for softwarepronto.visualstudio.com:


Appendix A: Git Credential Manager

The readme file for Git Credntial Manager can be found on github.com at Readme.md: Git Credential Manager.


Saturday, January 22, 2022

WSL 2.0: wget and ca-certificates -- Key apps for Developing with WSL Distribution

The prerequisites needed to prepare a WSL distribution to be used for development include:

  •  ca-certificates: used by applications to validate the authenticity of SSL connections
  • wget: used by applications to download files via standard protocols (HTTP, HTTPS, FTP)

To install ca-certificates and wget on a distribution use the command, sudo apt install wget ca-certificates, as follows:


The apt common with the install parameter was prefixed by sudo which means a user will be prompted for their password in order to be elevated to the level of privileges required to perform the install:

The install of wget and ca-certificates when completed is as follows:


Appendix A: wget

Ubuntu.com's documentation for wget provides the following man page for this application:

Appendix B: ca-certificates


WSL 2.0: Accessing a Windows System for Linux (WSL) Distribution from Windows

 The file system for each Windows System for Linux (WSL) distribution is accessible from Windows using the \\wsl$ folder. Below the \\wsl$ folder is shown for a WSL instance containing a single distribution, Ubuntu-20.04:


WSL 2.0: Accessing Windows Files from a Windows System for Linux (WSL) Distribution

When WSL is installed and a distribution is installed on WSL, the distribution is associated with a file system separated from Windows NTFS file system of the host. Linux's view of file systems is as mount points which can be viewed using: ls -al /mnt | more 

Piping the output of ls to more strips the colors from the output which makes the output readable to certain categories of color-blind engineers (see Ubuntu (for the color blind developer): Removing colors from ls).

The 'c' drive under /mnt is the Windows file system corresponding to the C: drive. The contents of Windows C: can be viewed using ls -al /mnt/c | more as follows:


WSL 2.0: Linux (Ubuntu/Debian) apt Updating and Upgrading Applications

Once a Linux distribution such as Ubuntu or Debian has been installed on WSL 2.0, the applications currently installed can be updated and upgraded using the apt command. This command is invoked as follows to first update and then upgrade existing applications:

sudo apt update && sudo apt upgrade

The command is invoked on WSL as follows:


The sudo command before the apt command allows apt to run with privileges sufficient to run administrative tasks (such as application update and application upgrade). When specified, the sudo command will prompt the user to enter the password for the distribution's administrative account (as shown below):


Entering the administrator accounts password allows apt update and apt upgrade to run with escalated permissions (see below):


After entering the administrative password, the user will be prompted if they want to continue (y or n). Entering 'y' continues the apt update and apt upgrade invocation (as follows):


The above image shows the application update and upgrade commands have completed for all applications.

Appendix A: apt Command Documentation

Ubuntu's documentation section, Package Management, contains a handy write-up on the apt command. The apt command options to install, remove, update, and upgrade are documented as follows on the aforementioned documentation link: 


WSL 2.0: Uninstalling a Linux Distribution from Windows Subsystem for Linux (WSL 2.0)

Consider the scenario where Ubuntu version 18.04 was installed on WSL 2.0 and an upgrade is needed to Ubuntu 20.04. This post demonstrates how to unregister (uninstall) a Linux distribution from WSL 2.-0.

1. Open a PowerShell console with administrative access.
2. Invoke using the PowerShell console wsl --list --verbose to list the currently installed Linux distributions.


3. Unregister Ubuntu 18.04 by invoking the following command from the PowerShell console,  wsl --unregister Ubuntu-18.04:


WSL 2.0: Installing Windows Subsystem for Linux (WSL) -- the WSL meant for Docker

Overview

Why install WSL 2.0? Writing scalable backends (web services) using Microsoft's stack is a matter using Docker (or another container technology), .NET Core/.NET 5/.NET 6, and a Linux distribution. The most realistic development platform for a Windows engineer is Windows Subsystem for Linux 2.0 (WSL). To quote Wikipedia's write up on WSL 2.0 (WSL 2), this version of WSL is optimized for Docker/virtualization:

Prerequisites

To quote Microsoft's documentation, "Install WSL", the operating system prerequisites for installing WSL 2.0 are as follows:


The user installing WSL 2.0 should have local administrator rights and PowerShell should be enabled to be executed (see cmdlet Set-ExecutionPolicy). As of this time, PowerShell 7.2 is the most recent version.

Installation Steps

1. Run the PowerShell console window with administrative permissions.
2. From the PowerShell console, invoke wsl --list --online to list the candidate Linux distributions that can be installed.


3. From the PowerShell console, invoke wsl --install and specify Linux distribution to install using -d (e.g. wsl --install -d Ubuntu-20.04 to install Ubuntu 20.04):


4. When invoked wsl --install will launch a new console corresponding to the Linx distribution being installed (see below):


5. Enter the username, and, when prompted, enter and confirm the password. Once these have been specified the screen will appear as follows:


With that WSL 2.0 is installed on Windows.

Friday, January 14, 2022

C#: Using a C# keyword as a variable (a.k.a. verbatim identifiers or @ before a keyword variable name)

C# allows keywords to be used as variable names. When a keyword is prefixed by an @  (such as @class), C# interprets that combination as a "verbatim identifier" which means it is a keyword used as a variable name.

A developer worth their salt will not be naming variables after keywords (such @if, @for, @while, @int, and @static). 

I was tasked with posting to a web service and generated the following C# code using the JSON payload for the web service and the generated code looked as follows (not the real payload):

    public class DepartmentRef
    {
        public string departmentRef { get; set; }
        public string @class { get; set; }
        public string @struct { get; set; }
    }

    public class MessageUpdate
    {
        public List<DepartmentRef> departmentRef { get; set; }
    }

    public class Root
    {
        public MessageUpdate messageUpdate { get; set; }
    }

The code in boldface above shows two verbatim identifiers. When a code generator is used, a verbatim identifier may just be a side effect.